Pipes Freezing in Winter: Why they Freeze, How to Prevent it, and What to Do if they Burst

No one wants to deal with a burst pipe. The Insurance Institute for Business & Home Safety (IBHS) estimates that burst pipes can cause in excess of $5,000 in water damage, not to mention the destruction of sentimental belongings and the time and hassle to clean it all up.
As we head into winter, many people have no idea whether their pipes are ready to withstand the freezing cold temperatures. Thankfully, with a little bit of planning, and relatively minor expenditures, you can prepare your home and prevent your pipes freezing in winter.
Why Do Pipes Freeze?

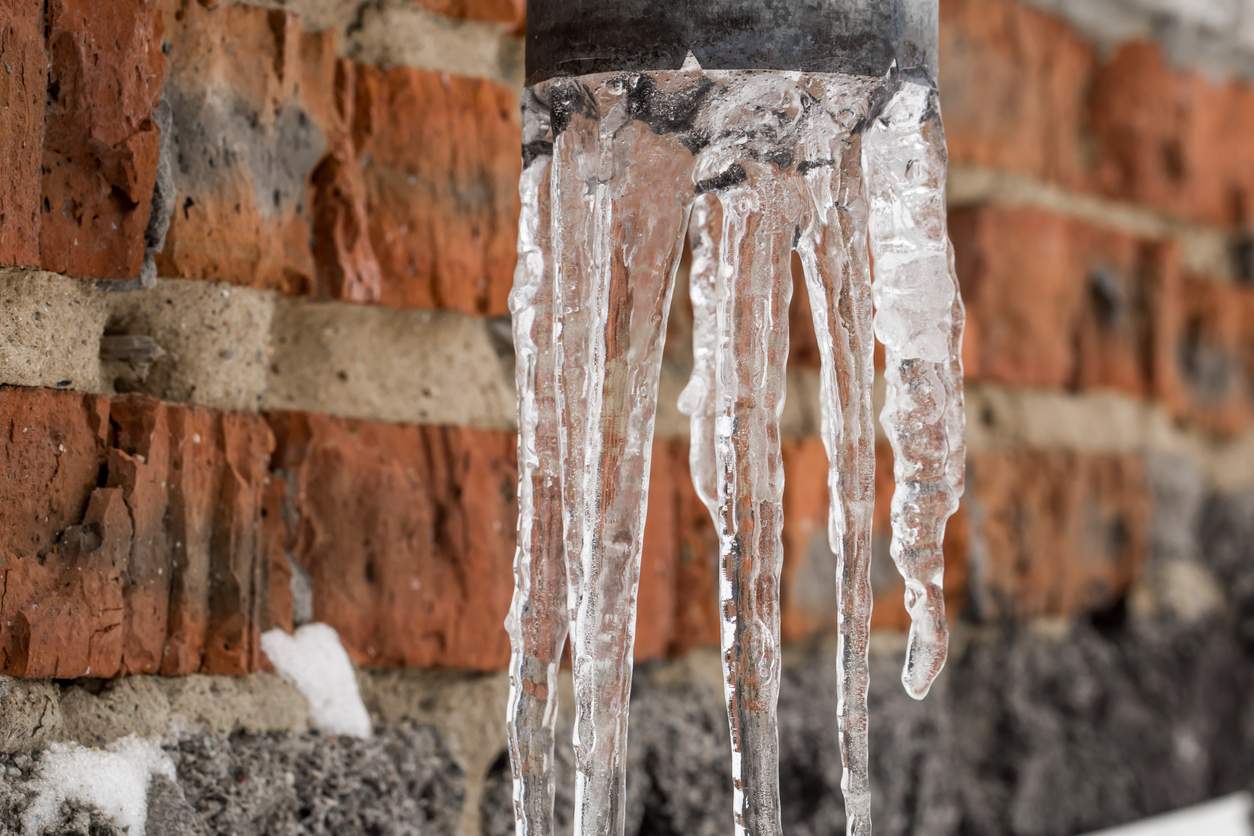
Pipes are particularly vulnerable to freezing if they’re not adequately protected from below-freezing temperatures. Attention should be paid to sections of pipe that are outside or in spaces lacking insulation (e.g. attics and garages), near cracks in walls and foundations, and around entry points for pipes and cable.
While the freezing temperature of water is 32 degrees Fahrenheit, the critical outdoor temperature at which there is a high likelihood of pipes freezing in winter is 20 degrees.
You might think that this is something that only happens in extremely cold climates, but you’d be wrong. In warmer climates that only experience a couple of freezes annually, homes are less likely to have safeguarded properly to protect pipes from freezing.
If a section of your pipes is exposed to the cold, it is vulnerable. It’s essential to address this vulnerability, thereby protecting pipes from freezing.
Protecting Pipes from Freezing during Winter

There are many steps you can take to protect yourself from pipes freezing in winter, each of which can have a big impact for little to no cost:
- Keep faucets running with cold water. The constant flow of water, even at a very low trickle, maintains a temperature above freezing in your pipes.
- Open interior doors. Even if a room is warm, the cabinet can be much cooler, and pipes housed there can be at risk. Keeping other doors in the house open helps heat to distribute more evenly to less warm rooms.
- Keep your home heated throughout the winter. Though it may seem counterintuitive to pay for heating when you’re on vacation or not in the house, it’s important to keep your thermostat set at or above 55 degrees Fahrenheit at all times.
- Insulate at-risk pipes. A variety of insulation types are available at hardware stores, home centers, plumbing supply stores, and insulation dealers. If you are in a particularly cold area, aim for 1-2″ thick pipe sleeves to protect pipes from freezing.
- If insulation doesn’t seem like enough, use heating tape. This tape is a pricier solution, but will heat pipes when the temperature drops below a certain threshold.
- Disconnect hoses from outdoor faucets and drain them for winter storage. Drain any water remaining in the faucets, and shut off the corresponding valves.
- If feasible, contact a plumber to reroute at-risk pipes.
- Repair cracks and holes in outside walls and foundations that are near water pipes, by sealing with caulking.
What to Do if a Pipe Freezes in Winter
If you try to run water, and only a trickle comes out, you are likely dealing with a frozen pipe. Your goal at this time should be to thaw the freeze and get water flowing normally again.
Leave the faucet open to release pressure and try to locate the frozen part of the pipe. Check areas of the pipe that run along exterior walls, through your attic, garage, or anywhere else they are likely to be unprotected.
Once you’ve located the frozen section, heat it up. The following are safe ways to heat your pipe:
- Electric heating pads, wrapped around the pipe
- Electric hair dryer
- Portable space heater (keep away from flammable materials)
- Towels soaked in hot water, wrapped around the pipe
Don’t leave any electric heating tool unsupervised. Additionally, while the following tools might seem like a quick fix, avoid them, as they are unsafe and could cause a fire:
- Blowtorch
- Kerosene or propane heater
- Charcoal stove
- Any open-flame device
Apply heat safely until full water pressure is restored. Be sure to check all other faucets in your home, as if there’s one frozen area, it’s possible there are more.
How to Handle a Burst Pipe
If your pipes freeze and rupture in winter, time is of the essence in stopping the flooding and avoiding more damage. Before dealing with the pipe and water, put safety first. Lowe’s suggests that “if the rupture is near electrical fittings or cables, turn off power to the area.”
Stop the Water Flow to the Pipe

If you have an old-gate valve, turn the valve clockwise until it is closed. With a ball valve, turn the handle ¼-turn clockwise. If the handle is parallel to the pipe, it is open; if it is perpendicular, it is closed.
Prevent Further Damage
Leave your faucets open to relieve the pressure downstream of the leak, and to decrease the likelihood of another pipe bursting. Be safe. Stay away from electrical appliances and call a professional for help dealing with flooding and water damage.
Dealing with Water Damage
If a pipe has burst, chances are you’re looking at some, if not significant, water damage. It is important to use a licensed, certified, and insured water-removal company, such as Abbotts Cleanup and Restoration, to get rid of the flooding as soon as possible after it occurs. Clean water begins to create mold spores within 24 hours, and dirty water (from sewers, etc.) does so much more quickly.
You need to get the water cleaned up as soon as you can to avoid a mold problem. If you do end up with mold, we also have specialized crews to aid in its elimination. Contact us and we’ll have a crew out within 60 minutes. We are available 24 hours/day, 7 days/week, and are ready to help you deal with this emergency if it occurs.

